Difference between revisions of "ACKsess"
m (added location) |
(added new administraion mode sequence) |
||
| Line 5: | Line 5: | ||
|Picture=ACKsess_3.jpg | |Picture=ACKsess_3.jpg | ||
}} | }} | ||
| − | + | == synopsis == | |
knock knock. | knock knock. | ||
| − | + | == current implementation == | |
The now working ACKsess implementation has several advantages over the old broken one, that broke. | The now working ACKsess implementation has several advantages over the old broken one, that broke. | ||
* Heartbeat: it pulsates the LED every 5 seconds or so, to indicate it's active | * Heartbeat: it pulsates the LED every 5 seconds or so, to indicate it's active | ||
* Better feedback (blink if door is unlocked) | * Better feedback (blink if door is unlocked) | ||
| − | * Brute force protection (locks | + | * Brute force protection (locks 10 seconds after a failed authentication, pulsates very fast as a tamper indication) |
* Faster response (shortened the delay for faster response) | * Faster response (shortened the delay for faster response) | ||
* Opens on powerup/reset. This way, the reset button can be used to open the door | * Opens on powerup/reset. This way, the reset button can be used to open the door | ||
* Various code cleanup/alignment/update | * Various code cleanup/alignment/update | ||
| − | * | + | * it beeps (as a helping aid)! |
| + | * (NEW) it works stand-alone now together with an I<sup>2</sup>C display (serial still supported) | ||
| − | ==== images | + | === mode of operation === |
| + | ==== normal mode ==== | ||
| + | * press the firebutton or put a valid key on the reader | ||
| + | * door will open | ||
| + | |||
| + | ==== admin mode ==== | ||
| + | * press and hold firebutton | ||
| + | * before the long beep ends, put a master key on the reader and hold both firmly | ||
| + | * an upward melody will play; release/remove buttons before it ends | ||
| + | * display will show <code>Program mode:add</code> | ||
| + | |||
| + | ==== exit admin mode ==== | ||
| + | * put master button on the reader again | ||
| + | * a downward melody will play | ||
| + | |||
| + | ==== add keys ==== | ||
| + | * enter [[#admin mode]] | ||
| + | * put a new iButton on the reader | ||
| + | * a short high beep will sound upon adding | ||
| + | * display will show <code>Added @ <EEPROM index></code> and the key ID | ||
| + | * exit by putting master button on the reader again | ||
| + | |||
| + | ==== delete keys ==== | ||
| + | * press firebutton shortly to cycle through the keys | ||
| + | * display will show <code>Program mode:del</code> and the key ID | ||
| + | * put master key on the reader to confirm and go back to admin mode | ||
| + | * a low beep will sound upon deletion | ||
| + | * display will show <code>Deleted @ <EEPROM index></code> | ||
| + | |||
| + | ==== exit delete keys without deleting keys ==== | ||
| + | * '''to go to admin mode without deleting keys: press firebutton long (>1s)''' | ||
| + | |||
| + | === images === | ||
Some images | Some images | ||
<gallery> | <gallery> | ||
| Line 29: | Line 62: | ||
</gallery> | </gallery> | ||
| − | + | === hardware === | |
The joystick contains a print that fits snugly, with an Arduino pro mini. | The joystick contains a print that fits snugly, with an Arduino pro mini. | ||
| − | + | ==== arduino Mega 1280 ==== | |
The print has print connectors, so everything can pop off easy. | The print has print connectors, so everything can pop off easy. | ||
You can use a USB to serial adapter (came with the pro mini) for debugging on 115200 baud. | You can use a USB to serial adapter (came with the pro mini) for debugging on 115200 baud. | ||
| − | + | ==== Joystick PCB ==== | |
The PCB receives power, and uses a 7805 to power the Arduino. | The PCB receives power, and uses a 7805 to power the Arduino. | ||
| Line 52: | Line 85: | ||
* The onewire pull up used is 4k7 to 5v | * The onewire pull up used is 4k7 to 5v | ||
| − | + | ==== DS9092L iButton probe ==== | |
I had to reverse engineer the wiring somewhat (connector was gone), but here it is: | I had to reverse engineer the wiring somewhat (connector was gone), but here it is: | ||
[http://datasheets.maximintegrated.com/en/ds/DS9092L.pdf DS9092L iButton probe datasheet] | [http://datasheets.maximintegrated.com/en/ds/DS9092L.pdf DS9092L iButton probe datasheet] | ||
| Line 62: | Line 95: | ||
| − | + | === software === | |
| − | Most of ACKsess.ino: | + | Most of ACKsess.ino (old code): |
<pre> | <pre> | ||
#include <OneWire.h> | #include <OneWire.h> | ||
| Line 239: | Line 272: | ||
</pre> | </pre> | ||
| − | + | === todo === | |
* add picture of the internals | * add picture of the internals | ||
* have battery backup (implement stand-by mode, might need a refit of the pull-up) | * have battery backup (implement stand-by mode, might need a refit of the pull-up) | ||
* check if we need a power-on-lock or power-off-lock, and add an appropriate power design | * check if we need a power-on-lock or power-off-lock, and add an appropriate power design | ||
* audit the authentication method | * audit the authentication method | ||
| − | |||
Location: [[Location::hACKspace]] (You've passed it on the way in) | Location: [[Location::hACKspace]] (You've passed it on the way in) | ||
[[Category:Arduino]] | [[Category:Arduino]] | ||
Revision as of 15:46, 29 October 2016
| Project: ACKsess | |
|---|---|
| Featured: | |
| State | Completed |
| Members | Vicarious, Prodigity, xopr |
| GitHub | No GitHub project defined. Add your project here. |
| Description | Knock knock. |
| Picture | |

| |
Contents
synopsis
knock knock.
current implementation
The now working ACKsess implementation has several advantages over the old broken one, that broke.
- Heartbeat: it pulsates the LED every 5 seconds or so, to indicate it's active
- Better feedback (blink if door is unlocked)
- Brute force protection (locks 10 seconds after a failed authentication, pulsates very fast as a tamper indication)
- Faster response (shortened the delay for faster response)
- Opens on powerup/reset. This way, the reset button can be used to open the door
- Various code cleanup/alignment/update
- it beeps (as a helping aid)!
- (NEW) it works stand-alone now together with an I2C display (serial still supported)
mode of operation
normal mode
- press the firebutton or put a valid key on the reader
- door will open
admin mode
- press and hold firebutton
- before the long beep ends, put a master key on the reader and hold both firmly
- an upward melody will play; release/remove buttons before it ends
- display will show
Program mode:add
exit admin mode
- put master button on the reader again
- a downward melody will play
add keys
- enter #admin mode
- put a new iButton on the reader
- a short high beep will sound upon adding
- display will show
Added @ <EEPROM index>and the key ID - exit by putting master button on the reader again
delete keys
- press firebutton shortly to cycle through the keys
- display will show
Program mode:deland the key ID - put master key on the reader to confirm and go back to admin mode
- a low beep will sound upon deletion
- display will show
Deleted @ <EEPROM index>
exit delete keys without deleting keys
- to go to admin mode without deleting keys: press firebutton long (>1s)
images
Some images

iButton reader inside the door handle hole
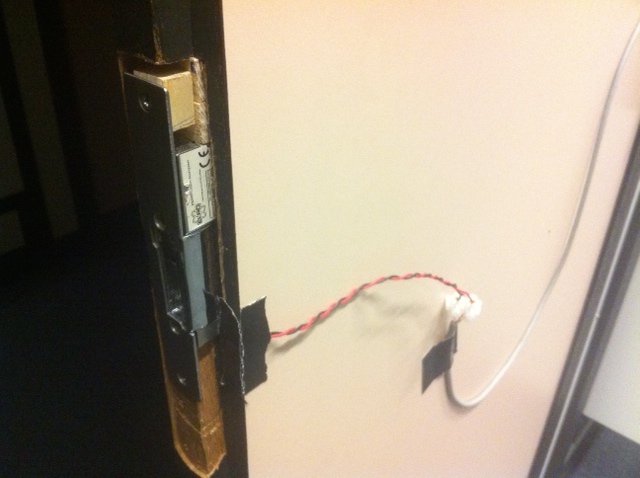
first version of door lock mechanism

Awesome door handle (press fire to open)

Joystick internals
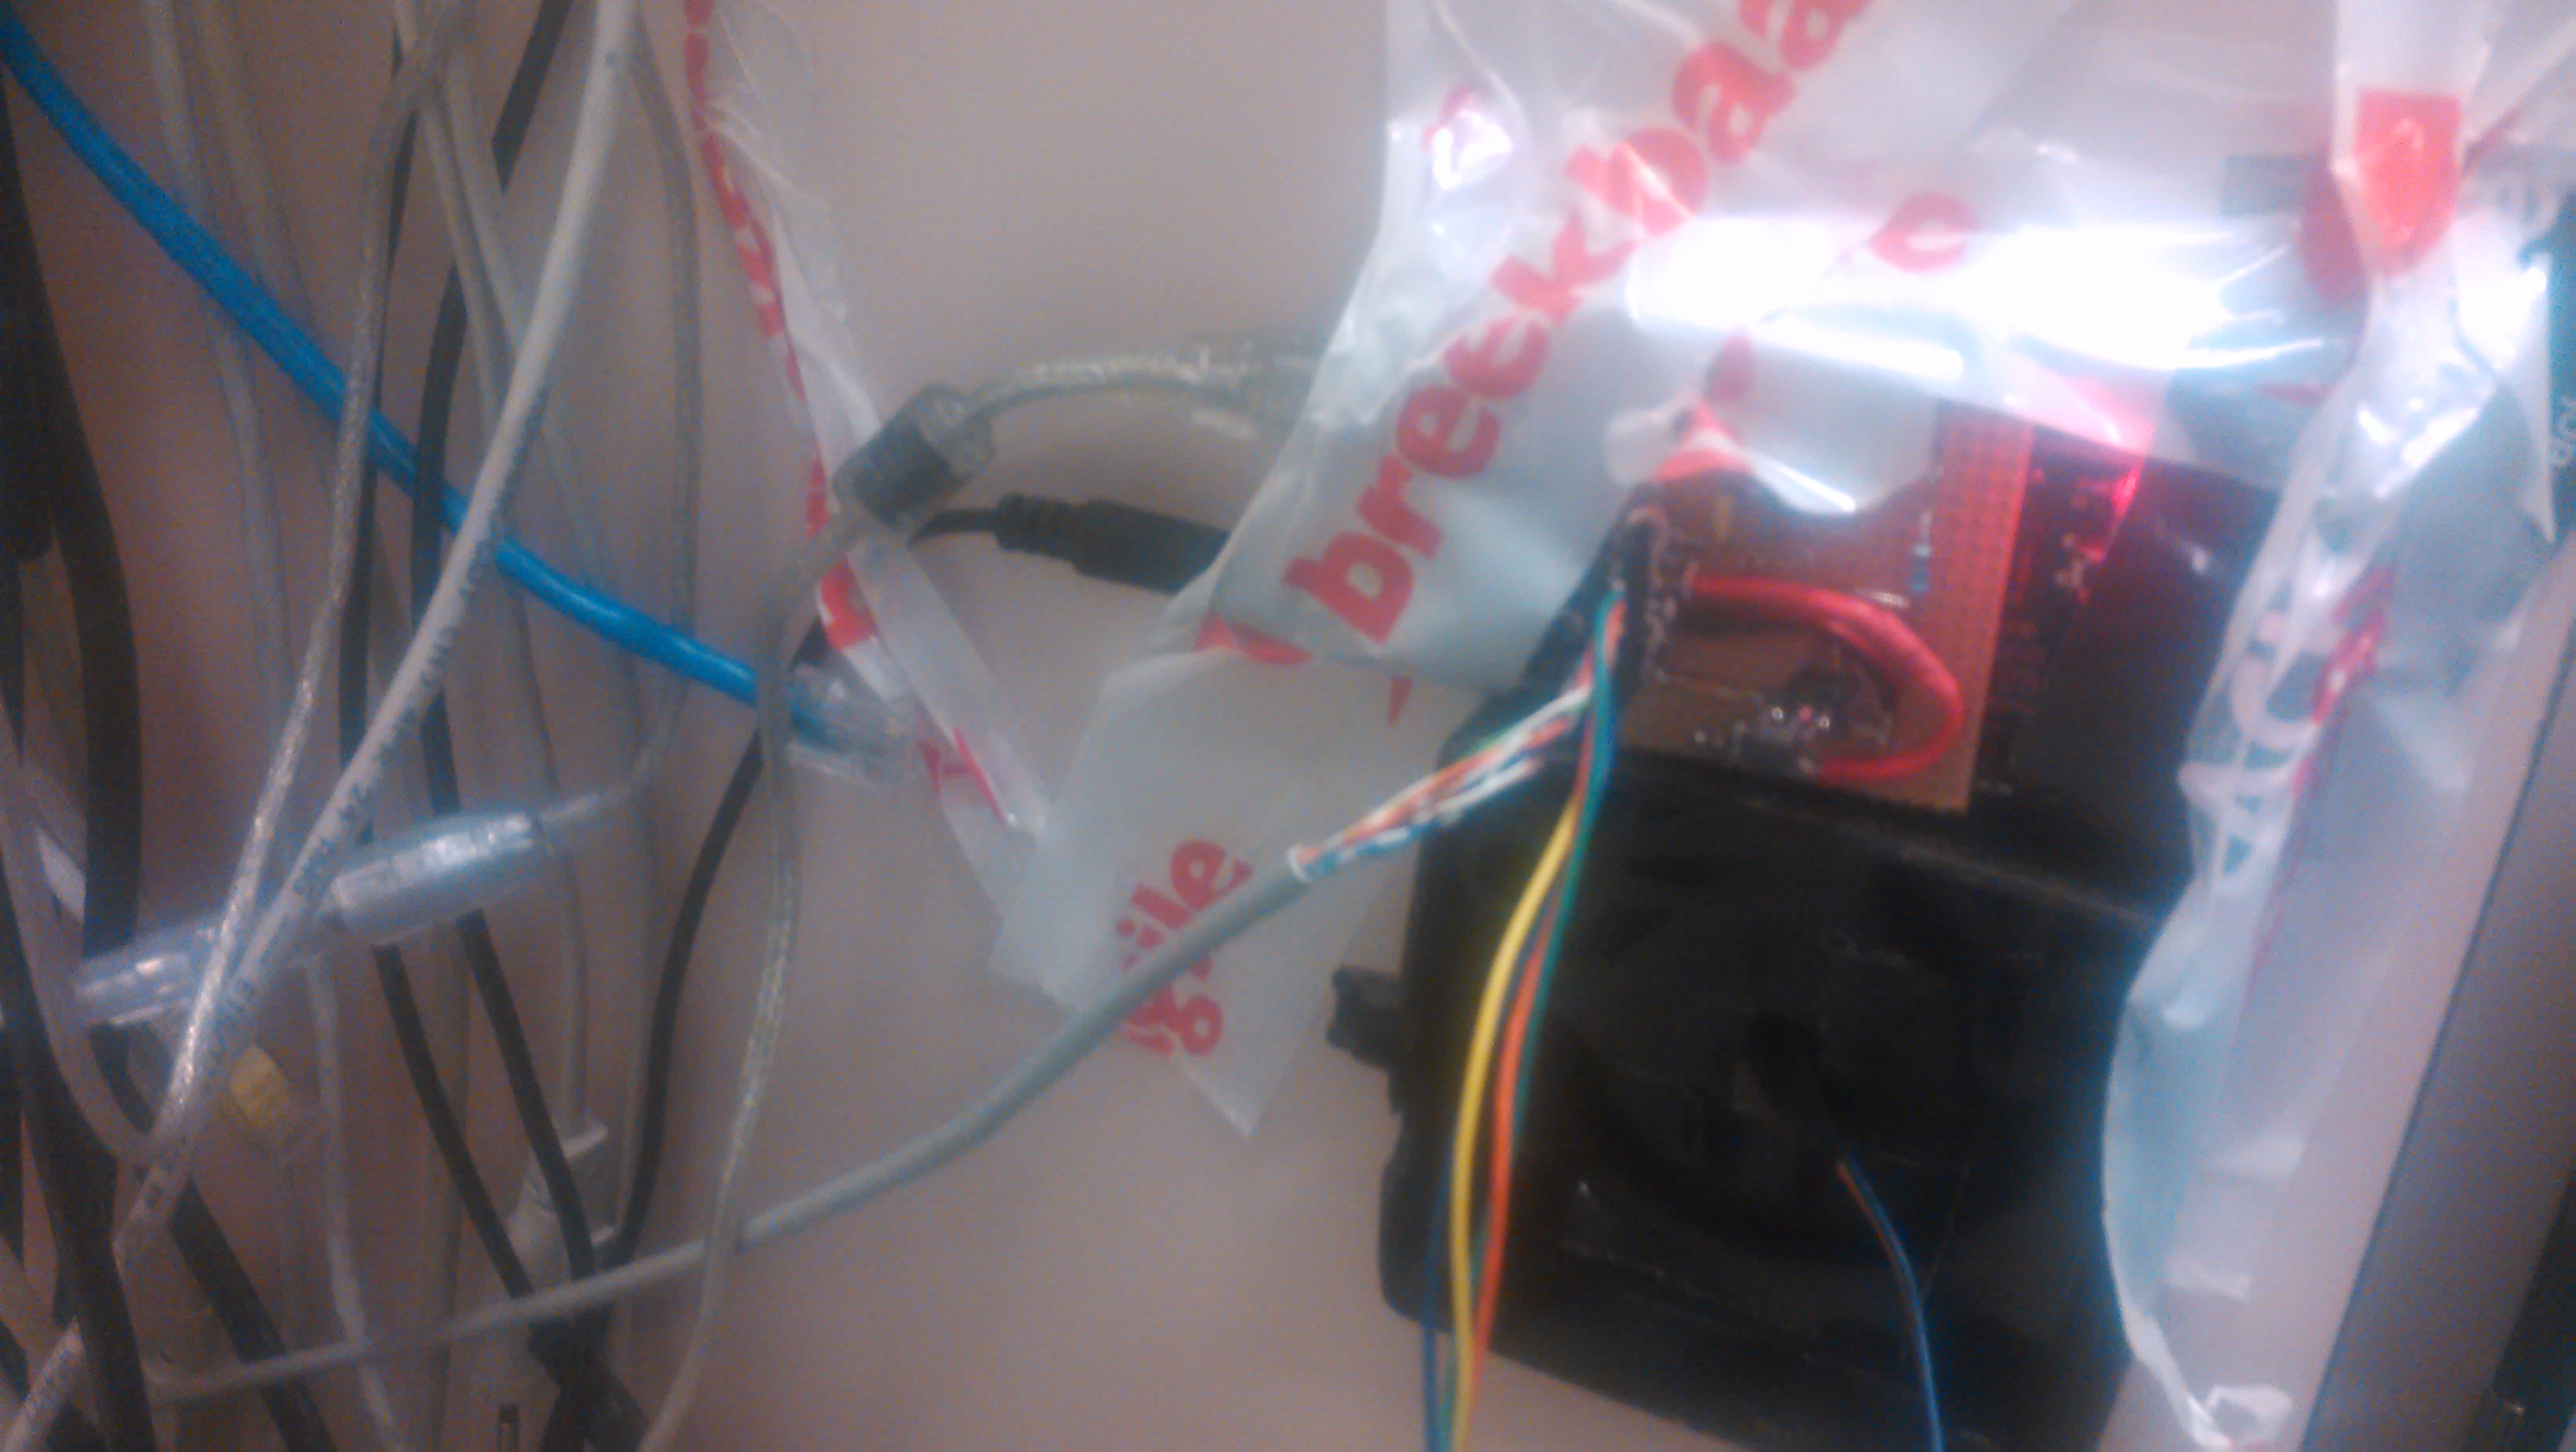
THEREIFIXEDIT


hardware
The joystick contains a print that fits snugly, with an Arduino pro mini.
arduino Mega 1280
The print has print connectors, so everything can pop off easy.
You can use a USB to serial adapter (came with the pro mini) for debugging on 115200 baud.
Joystick PCB
The PCB receives power, and uses a 7805 to power the Arduino.
Arduino pins
- 2: reader pin: reader 'data' pin, 4k7 pull up to 5v
- 3: led pin: uses pwm heart beat every 5 seconds and blinks fast if the door is unlocked
- 4: button pin: for use for external opener, pullup (connect to ground to trigger)
- 5: relay pin: set high to pull relay pin to low
- 9: buzzer pin: for audio feedback
- The NPN transistor used is a BC548 (goes up to 500mA), drived with a 100-300 something ohm resistor on the base (from the top of my head).
- Note that is has a diode (1n4000 something) antiparallel between collector and emittor as coil reverse voltage protection
- The onewire pull up used is 4k7 to 5v
DS9092L iButton probe
I had to reverse engineer the wiring somewhat (connector was gone), but here it is: DS9092L iButton probe datasheet Pinout:
- GND (blue)
- Data (onewire) (green)
- LED cathode (-) (yellow)
- LED anode (+) (orange)
software
Most of ACKsess.ino (old code):
#include <OneWire.h>

const int relayPin  = 5;     // the number of the relay pin
const int ledPin    = 3;     // the number of the LED pin (change to 13 to see the onboard led)
const int readerPin = 2;     // the number of the iButton reader pin
const int buttonPin = 4;     // the number of the pushbutton pin
const int buzzerPin = 9;     // the number of the buzzer pin

OneWire ds( readerPin );
byte addr[ 8 ];
String keyStatus = "";

byte allowedButtons[][6] = {
  /* ADD YOUR BUTTONS TO AUTHORIZE HERE */
};

byte disallowedButtons[][6] = {
  /* ADD THE BUTTONS TO IGNORE HERE */
};

void setup(void)
{
  Serial.begin(115200);
  pinMode( buttonPin, INPUT_PULLUP );
  pinMode( ledPin, OUTPUT );
  pinMode( relayPin, OUTPUT );

  Serial.println( "ACKsess initialized" );
  Serial.print( "number of keys: " );
  Serial.println( sizeof( allowedButtons ) / 6 );

  // Open the door upon power up and (on board) reset
  openDoor( true );
}

byte nState = 0;
byte nLedVal = 0;
bool bTamper = false;
void loop(void)
{
  switch ( nState )
  {
    case 0: // forward, led fade in
      nLedVal++;
      if ( nLedVal >= 255 )
        nState++;

      if ( bTamper )
          analogWrite( ledPin, nLedVal & 32 );
      else
          analogWrite( ledPin, nLedVal );

      delay( 1 );
      break;

    case 1: // backward, led fade out
      nLedVal--;
      if ( nLedVal <= 0 )
        nState++;

      if ( bTamper )
        analogWrite( ledPin, nLedVal & 32 );
      else
        analogWrite( ledPin, nLedVal );

        delay( 1 );
      break;

    default: // idle
        nState++;
        delay( 500 );

        if ( nState >= 10 )
          nState = 0;

      break;
  };

  // If the external button was pushed, open the door
  if ( digitalRead( buttonPin ) == LOW )
    openDoor( true );

  // Check keys twice each fade and on every idle state step
  if ( (nLedVal == 127) || ( nState > 1 ) )
  {
    // Store the button info and read the keycode
    getKeyCode( );
    if( keyStatus == "ok" )
    {
      // We have a correct key type, authenticate it
      Serial.print("00");
      for( byte i = 5; i > 0; i--)
      {
        Serial.print( ":" );
        Serial.print(addr[i], HEX);
      }
      Serial.println( "" );

      // Either open the door, or lock the system for 30 seconds
      if ( authenticateKey( addr, false ) )
      {
        bTamper = false;
        openDoor( false );
      }
      else if ( !authenticateKey( addr, true ) )
      {
        bTamper = true;
        Serial.println( "ACKsess denied!" );
        tone( buzzerPin, 600, 3000 );
        delay( 30000 );
      }
      else
      {
        Serial.println( "ACKsess filtered" );
        tone( buzzerPin, 600, 500 );
        delay( 1000 );
        tone( buzzerPin, 600, 500 );
        delay( 1000 );
        tone( buzzerPin, 600, 1000 );
      }
    }
  }
}

void openDoor( bool _buttonPressed )
{
  Serial.println( "ACKsess granted!" );

  // Trigger the relay
  digitalWrite( relayPin, HIGH );

  // Blink the led fast for about 3 seconds
  for ( byte n = 0; n < 3; n++ )  // 250+250*6 500+500*3
  {
    digitalWrite( ledPin, HIGH );
    tone( buzzerPin, 1000, 250 );
    delay( 250 );
    digitalWrite( ledPin, LOW );
    delay( 250 );
  }

  // Relay off
  digitalWrite( relayPin, LOW );
}

void getKeyCode()
{
  byte present = 0;
  byte data[ 12 ];
  keyStatus="";

  if ( !ds.search( addr ) )
  {
    ds.reset_search( );
    return;
  }

  if ( OneWire::crc8( addr, 7) != addr[ 7 ] )
  {
    keyStatus = "CRC invalid";
    return;
  }

  keyStatus = "ok";
  ds.reset( );
}

boolean authenticateKey( byte* _button, bool _includeIgnore )
{
  /* SECURITY THROUGH OBSCURITY, VISIT US TO SEE SOME EXAMPLES */
  return false;
}
todo
- add picture of the internals
- have battery backup (implement stand-by mode, might need a refit of the pull-up)
- check if we need a power-on-lock or power-off-lock, and add an appropriate power design
- audit the authentication method
Location: hACKspace (You've passed it on the way in)